Step-by-Step Guide to Encrypt Your Entire Drive with BitLocker
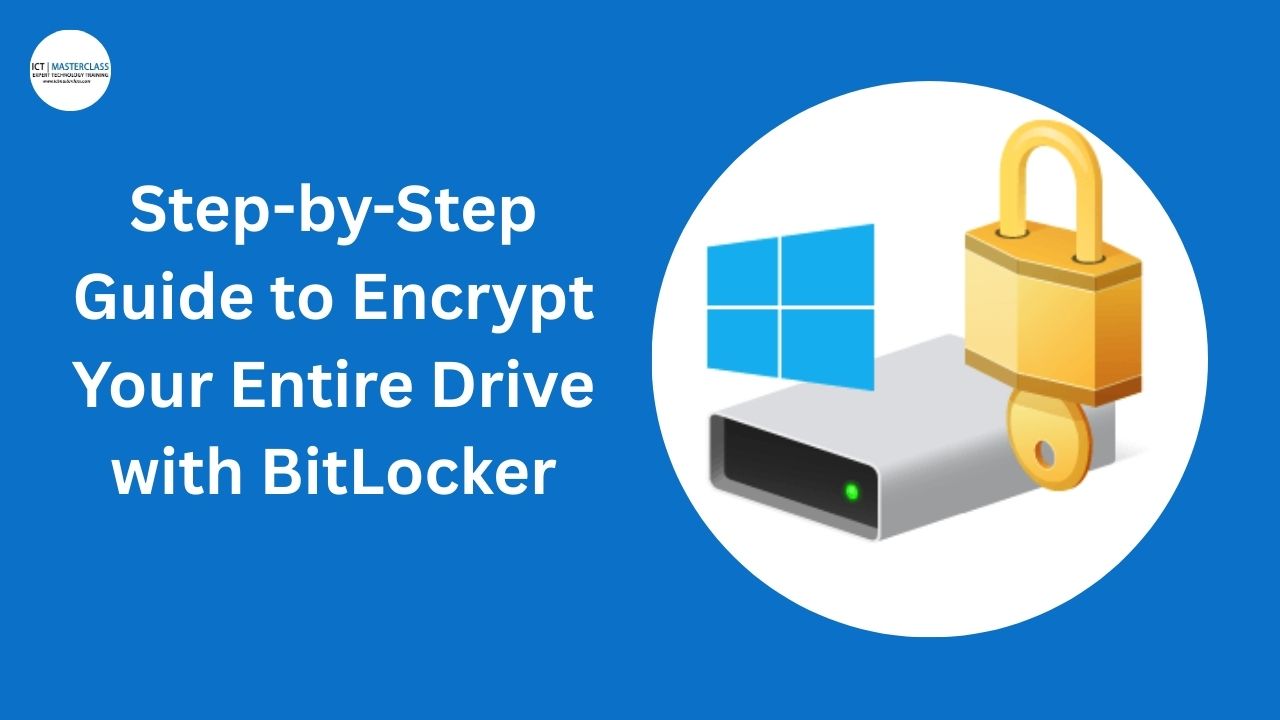
In an age where data privacy is more important than ever, full disk encryption is one of the most powerful tools for protecting sensitive files. BitLocker, built into Windows, offers a simple and effective way to encrypt your drive, ensuring your data remains secure, even if your device is lost or stolen.
What Is BitLocker?
BitLocker Drive Encryption is a security feature available on professional and enterprise editions of Windows (Pro, Enterprise, Education) that encrypts all the contents of a drive. This prevents unauthorized access to your files, even if someone removes the hard drive and tries to access it on another machine
Requirements
Before enabling BitLocker, make sure you meet these prerequisites:
-
Windows 10/11 Pro, Enterprise, or Education
-
A Trusted Platform Module (TPM) version 1.2 or later (most modern PCs have this)
-
If TPM is unavailable, you can use a USB startup key instead
NB: Read more on how to enable TPM 2.0 on a Windows system
Step-by-Step:
How to Enable BitLocker
Step 1: Check if Your PC Supports BitLocker
-
Press
Windows + R, typetpm.msc, and press Enter.-
You're good to go if the TPM module is present and ready.
-
-
Alternatively, open Control Panel > System and Security > BitLocker Drive Encryption.
-
If you see your drives listed, BitLocker is supported.
-
Step 2: Back Up Important Files
Encrypting your drive is safe, but it’s always smart to back up important data in case of interruption (like power failure during encryption).
Step 3: Enable BitLocker
-
Go to Control Panel > System and Security > BitLocker Drive Encryption.
-
Next to your system drive (usually C:), click "Turn on BitLocker".
-
BitLocker will check if your system supports TPM. If not, you'll be prompted to enable a USB key startup method.
Step 4: Choose Unlock Method
You’ll be prompted to choose how you want to unlock the drive at startup:
-
Use TPM automatically (most secure and seamless)
-
Use a USB flash drive (if TPM isn't available)
-
Require PIN or password (more secure, optional)
For maximum security, choose TPM + PIN.
Step 5: Save the Recovery Key
You’ll be asked to back up your recovery key. This is critical in case you forget your password or change hardware.
Options:
-
Save to your Microsoft Account
-
Save to a USB drive
-
Save to a file on a different drive
-
Print it
🛑 Don’t store the key on the same encrypted drive.
Step 6: Choose Encryption Mode
-
New encryption mode (XTS-AES) – Best for internal drives
-
Compatible mode – Best for external/removable drives
Step 7: Start Encryption
You’ll be asked whether to encrypt:
-
Used disk space only (faster, for new PCs)
-
Entire drive (recommended for older PCs or if you've used the drive extensively)
Click 'Start Encrypting' and wait for the process to finish. Depending on your drive size, it could take minutes to hours.
Post-Encryption: What to Expect
-
At startup, you may be prompted for a PIN (if configured)
-
Data is encrypted automatically and decrypted on the fly when you’re logged in
-
Performance impact is minimal on modern devices
How to Suspend, Disable, or Remove BitLocker
Go to: Control Panel > System and Security > BitLocker Drive Encryption
Options:
-
Suspend protection (e.g., before BIOS/firmware updates)
-
Turn off BitLocker (decrypts the drive)
Why BitLocker Matters
Without encryption, anyone who steals your laptop or hard drive could easily access your files, even without logging into your account. BitLocker ensures:
-
Your data stays private
-
Protection against offline attacks
-
Compliance with enterprise security standards
Final Thoughts
Whether you're a professional, student, or everyday user, BitLocker is an excellent built-in tool for protecting your sensitive data. You can dramatically improve your security posture with just a few clicks without extra software.
Need Help? Let me know!
You may also like
Comments
No comment yet